
 EN
EN

 English
  русский
  Français
  Español
  عربى
عربى 
 Get a Quote
How to Choose and Use a Butt Welding Machine for Wire Joining
Date:Aug 21, 2026
Joining two sections of wire can look like a fairly simple production step, but the condition of the wire, how the ends actually meet, and the operating settings chosen along the way can all shape the finished joint. A connection that seems fine right after welding may later show cracking, uneven surfaces, extra flash, or weak spots once the wire gets processed further down the line.
Because of this, picking equipment should really start with the wire and the production process itself rather than just the name on the machine. Material type, wire diameter, end preparation, pressure, current, operating method, and inspection all need to work together as a system. The same settings on a butt welding machine won't necessarily give the same result once the wire material or size changes.
A practical way to approach this is starting with the material being joined, preparing the wire ends with some care, then adjusting operating conditions to match what's actually being processed. Problems showing up at the joint can offer useful clues too. A broken connection, an uneven joint, or extra flash often points back to something in preparation, alignment, pressure, current, or another part of the welding sequence.
What Materials Can a Butt Welding Machine Join
The material being joined is one of the first things worth thinking through, since different metals respond differently once heat and pressure get applied. Steel wire, stainless steel wire, copper wire, and other metal wires carry different electrical and physical traits, and those differences affect how heat builds at the joining point and how the finished connection holds up.
Steel wire shows up often in wire processing simply because it gets used across so many production settings. Stainless steel wire can call for different handling since its surface condition and material behavior differ from ordinary steel. Copper wire behaves differently again because it carries heat away pretty readily, which changes how a butt welding machine needs to be tuned for it.
Surface condition matters just as much as the base material. Oil, dirt, rust, oxidation, or other residue sitting around the wire ends can get in the way of a clean joining process. Even when the wire itself suits the application, an unclean or irregular end can leave the connection inconsistent.
Checking material compatibility before locking in operating conditions tends to save trouble later. It also helps to separate materials by what they actually need in production rather than assuming one setting works across every wire type that comes through a butt welding machine.
| Wire Material | Points to Check Before Joining | Possible Concern |
|---|---|---|
| Steel wire | Surface condition, diameter, end alignment | Uneven heating or weak joints |
| Stainless steel wire | Surface condition and material characteristics | Inconsistent joint formation |
| Copper wire | Heat transfer and contact condition | Heat may spread away from the joint |
| Coated wire | Coating condition near the joint | Coating may affect contact |
How Should Wire Ends Be Prepared Before Butt Welding
Preparation really starts before the wire ever reaches the welding position. Both ends need to meet in a controlled, consistent way, and if one end is angled, damaged, dirty, or uneven, the contact area won't stay consistent either.
Cutting the wire cleanly matters for this reason. A rough or slanted end can leave gaps between the two pieces once they're brought together. The ends should also get checked for contamination — clearing away oil, loose material, and other residue tends to help create steadier contact.
Alignment deserves attention too. The two sections should sit along the same line rather than meeting at an angle. Poor alignment can leave an uneven joint and might also make the finished wire harder to handle in whatever operation comes next.
Preparation should stay fairly consistent from one piece to the next as well. When operators use different cutting habits or handle the wire a bit differently each time, variations can creep in even while the butt welding machine settings stay untouched.
A simple pre-welding check might include:
- Looking over both wire ends for damage
- Clearing away visible dirt or residue
- Checking whether the cut surfaces sit reasonably even
- Lining up the two ends along the same center line
- Confirming the wire is held securely before welding starts
None of these steps call for anything complicated, but they can shape how stable the welding operation turns out to be.
How Does Wire Diameter Affect Butt Welding Machine Settings
Wire diameter affects how much material is being joined and how heat builds at the contact area. A small shift in diameter can change what's needed for a stable connection, so settings on a butt welding machine should get considered alongside the actual wire size rather than treated as fixed.
When wire gets thicker, the joining process may call for different current and pressure than what worked for thinner wire. The reverse holds true moving toward a smaller diameter. Carrying over the same settings without rechecking against the new size can lead to excessive heating, weak joining, or an uneven result.
Diameter also shapes how the wire sits and gets clamped. The holding components need to secure the wire without pushing it out of shape. If the wire isn't held the same way each time, even settings that seem right on paper can produce results that vary.
| Wire Condition | What May Need Attention | What to Observe |
|---|---|---|
| Smaller diameter | Current, pressure, holding position | Joint shape and wire deformation |
| Larger diameter | Current, pressure, joining time | Heating and joint formation |
| Diameter changes between batches | New setting check | Differences in joint appearance |
| Uneven wire size | Alignment and holding | Contact between both ends |
When wire size changes, it helps to treat it as a fresh operating condition rather than just nudging one control. Checking the resulting joint before rolling the new setting out across a full run tends to catch problems early.
How Do You Set Welding Current and Pressure Correctly
Current and pressure shape different parts of the joining process, though they interact closely with each other. Current drives the heat generated where the two wire ends meet, while pressure governs how the ends get held and brought together during welding.
If current doesn't suit the material or wire size, the joint may not form evenly across the connection. Too much heat can bring on excessive material loss or deformation, while too little heat can leave a weak connection that doesn't hold.
Pressure needs similar attention. Too little pressure makes it hard to keep stable contact between the two ends. Too much pressure can deform the wire or reshape the joint in ways that aren't intended.
Operating time factors into this as well. Current, pressure, and time shouldn't really be treated as separate dials — adjusting one often means the others need a second look too.
A workable way to dial in settings is starting from the wire manufacturer's suggested operating range, then inspecting what comes out. Looking at the shape of the connection, the amount of flash, wire alignment, and whether the joint holds up under handling all give useful feedback.
Rather than changing several settings at once on a butt welding machine, adjusting one thing at a time and watching the result makes it a lot easier to trace which change caused what.
Why Do Butt Welded Joints Crack or Break After Welding
A joint that cracks or breaks after welding usually traces back to several parts of the process working together rather than one isolated cause. The wire ends might have been prepared poorly, the pieces may not have lined up correctly, or the operating conditions chosen might not fit the material being joined.
Cracking can also tie back to excessive heating or a pressure setting that doesn't suit the job. When the joining area sits outside the appropriate range for too long, the finished connection may behave quite differently from the original wire around it.
Where the break happens can offer useful information. If the connection separates right at the joining point, attention should turn to welding conditions and contact between the wire ends. If the wire bends or breaks near but not exactly at the joint, alignment, heating, or deformation might need a closer look.
Repeated failures shouldn't get solved simply by pushing the welding current higher. That approach often just trades one problem for another. A steadier method involves checking the whole process, from wire preparation through positioning and into the actual operation on the butt welding machine.
Comparing several failed joints side by side and looking for a shared pattern helps narrow things down. If the same issue keeps showing up after a particular material switch, a diameter change, or a setup adjustment, the source usually becomes easier to spot.
How Can Excessive Flash Be Reduced During Butt Welding
Flash refers to material pushed outward around the joining area during welding. A small amount tends to show up naturally, but excessive flash can leave an uneven joint and may call for extra handling before the wire moves on to whatever comes next.
Excessive heat is one possible cause. If operating current or time doesn't suit the wire, more material gets affected around the joining area than needed. Pressure plays a role too, influencing how material shifts during the operation itself.
Wire end condition deserves a check as well. Uneven surfaces can change the contact area and lead to heating that isn't consistent across the joint. Poor alignment can add another layer of uneven distribution on top of that.
When excessive flash keeps turning up, it helps to review the whole process rather than fixating on a single setting. Checking wire ends, holding position, alignment, current, pressure, and operating time together tends to reveal more than adjusting any one factor alone.
If the same problem repeats, comparing joints produced under different controlled conditions can help pin down the cause. The aim isn't just trimming visible flash after the fact — it's building a steadier joint during the welding step itself.
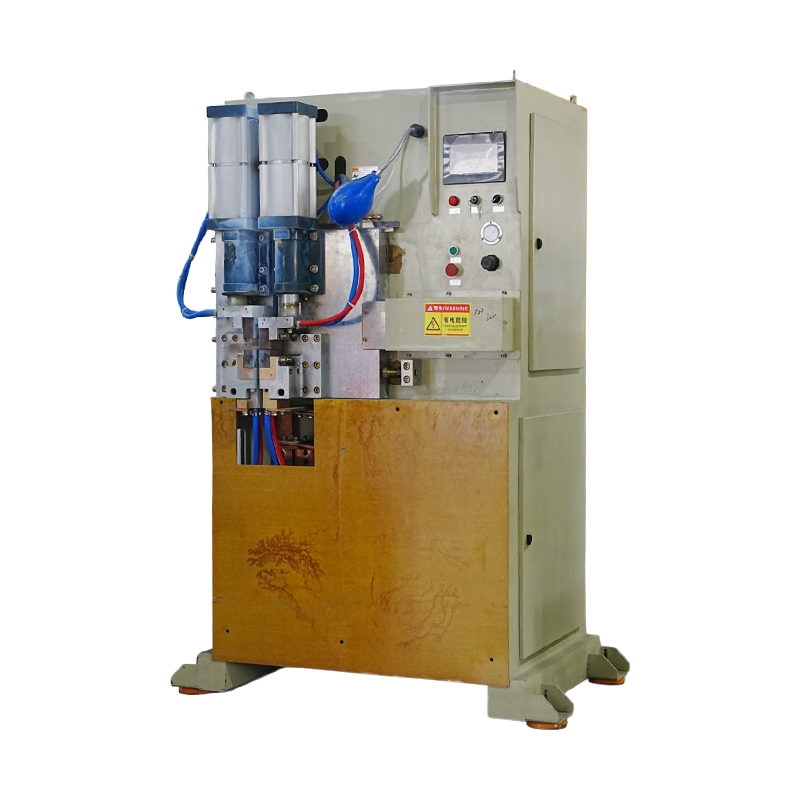
How Can Operators Maintain Consistent Butt Weld Quality
Consistency leans heavily on repeatable operation. Even when equipment settings stay untouched, differences in wire preparation, positioning, clamping, or general handling can still shift the finished connection.
Operators benefit from following the same preparation routine batch after batch. Wire ends should get cut and cleaned the same way each time, and pieces should get positioned consistently before welding begins.
Regular visual checks help catch changes early too. Looking at joint shape, alignment, flash, surface condition, and any early signs of cracking gives a clearer picture. When something shifts, it's much easier to investigate if the rest of the process has stayed steady.
Keeping simple notes can help without turning into extra paperwork burden. Jotting down material changes, diameter changes, setting adjustments, and observed joint conditions builds a record that reveals patterns over time.
Equipment condition matters here as well. Worn holding parts, dirty contact surfaces, loose connections, or uneven cooling can all throw off operation. Routine checks on a butt welding machine can stop small equipment issues from turning into repeated welding problems.
What Should You Check Before Buying a Butt Welding Machine
The buying decision should start with the wire that will actually run through the equipment. Material, diameter, production method, how much operator involvement is realistic, and the workshop conditions available all shape which machine makes sense.
The equipment needs to suit the wire sizes and materials used in the intended work. It's also worth thinking through how the wire gets positioned, held, and removed during operation, since a setup that suits one production process might not fit another at all.
Control method is another point to weigh. Some operations call for more hands-on operator involvement, while other lines may lean toward a more automated setup. The choice should reflect the actual workflow rather than just what's written in the equipment description.
Cooling and maintenance needs are worth reviewing too. Welding generates heat, so the equipment needs a sensible way to manage operating temperature. Contact parts and other working components may need regular inspection or occasional replacement over time.
Before buying, it helps to lay out the actual production conditions in writing:
- What materials need joining?
- What wire diameters will run through the process?
- How often does the wire need joining?
- How will the wire get positioned and handled?
- What level of operator involvement fits the workflow?
- What maintenance can the workshop realistically support?
- What checks will confirm the finished joint meets expectations?
Working from these conditions builds a clearer link between the machine and the actual production process. It also makes later adjustments and day-to-day operation simpler, since the original requirements were already spelled out from the start.
For wire joining work, choosing the equipment is only one part of the picture. Material preparation, wire alignment, operating settings, joint inspection, and routine equipment checks all shape how consistently the finished connection turns out. Looking at these factors together gives a practical starting point for choosing and running a butt welding machine across different wire-processing situations.
Related products
-
-
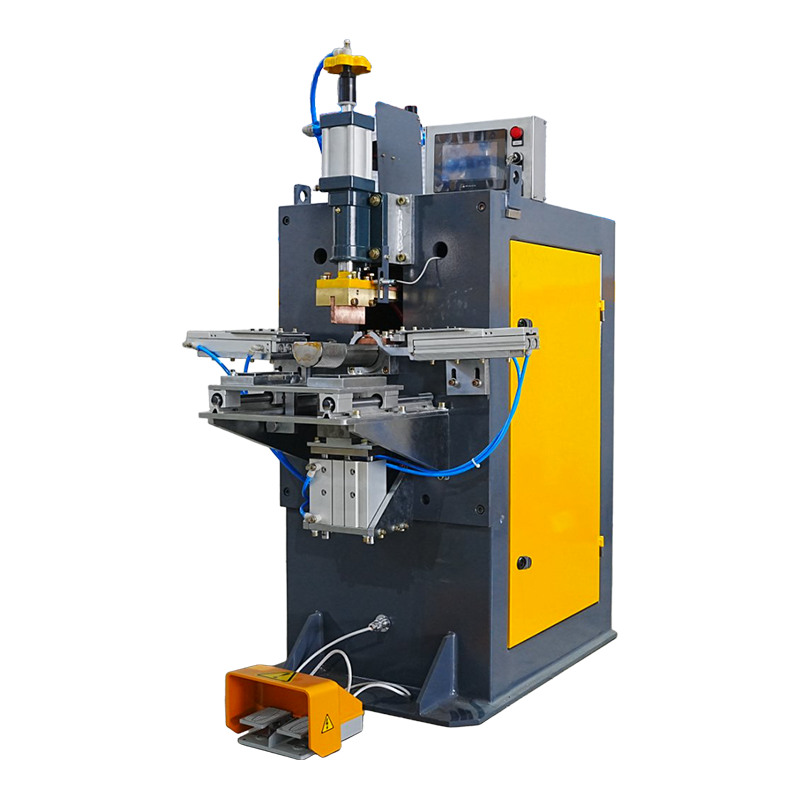
The Welding Machine for Semi-Circular Pen Holder is engineered for precision welding of semi-circular pen holders, integrating high‑accuracy automated positioning and servo control systems to deliver ...
See Details -
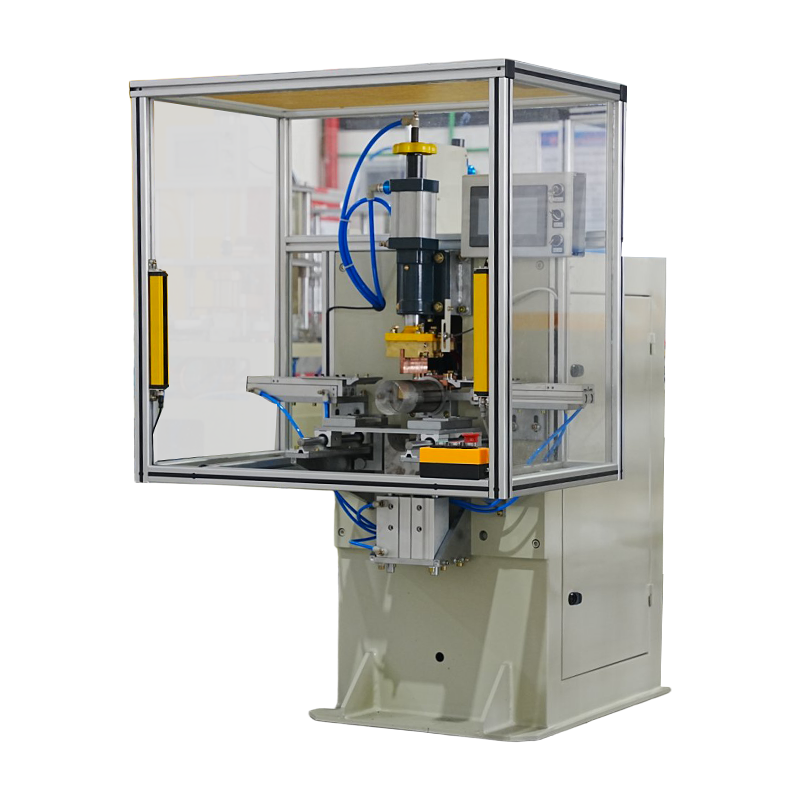
The Welding Machine for Desktop Organizer Base is engineered for precise base welding of desktop storage products. Automated positioning, precise clamping, and efficient welding units ensure strong we...
See Details -
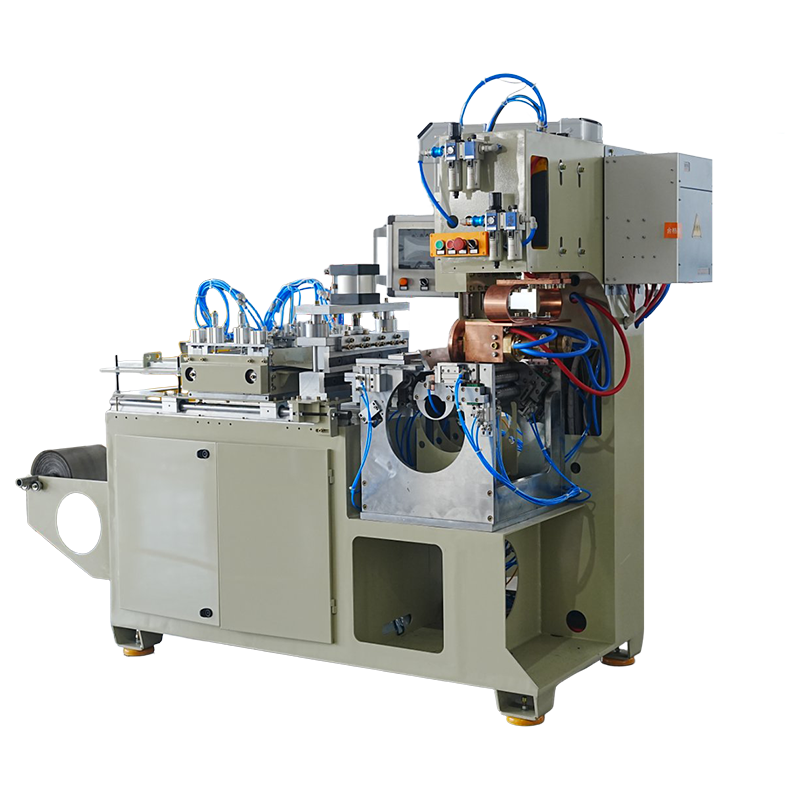
The Drum Roll Mesh Welding Integrated Machine combines drum body welds and wire mesh attachments in a single automated workflow, streamlining assembly processes for mesh‑reinforced drums or filtration...
See Details -
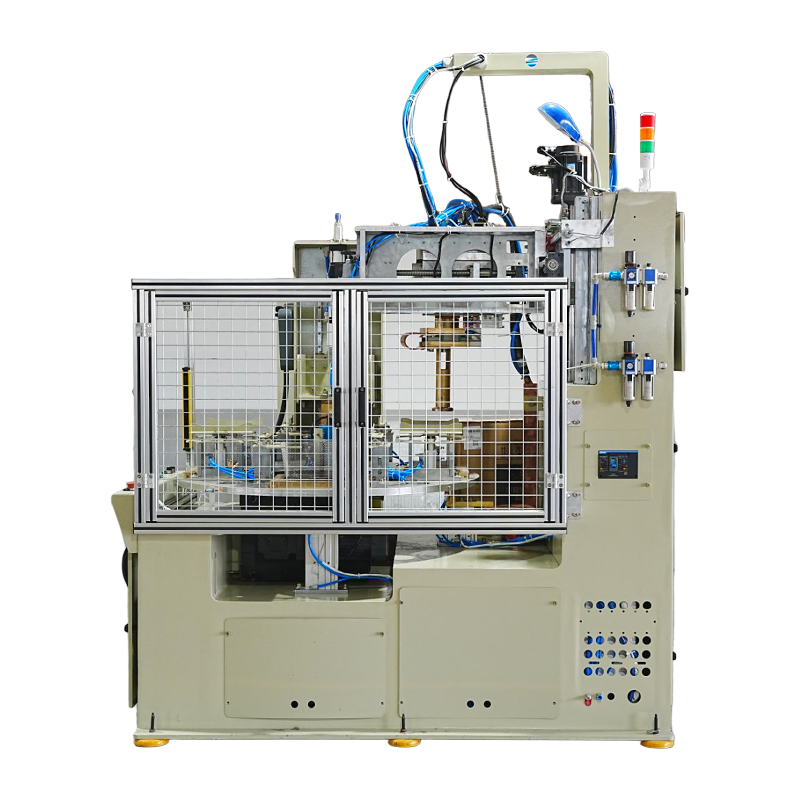
The 4‑Station Automatic Rotary Mesh Basket Roll Welding Machine is a turnkey solution for mass production of wire mesh‑type baskets and cages. Four synchronized welding stations operate around an auto...
See Details -
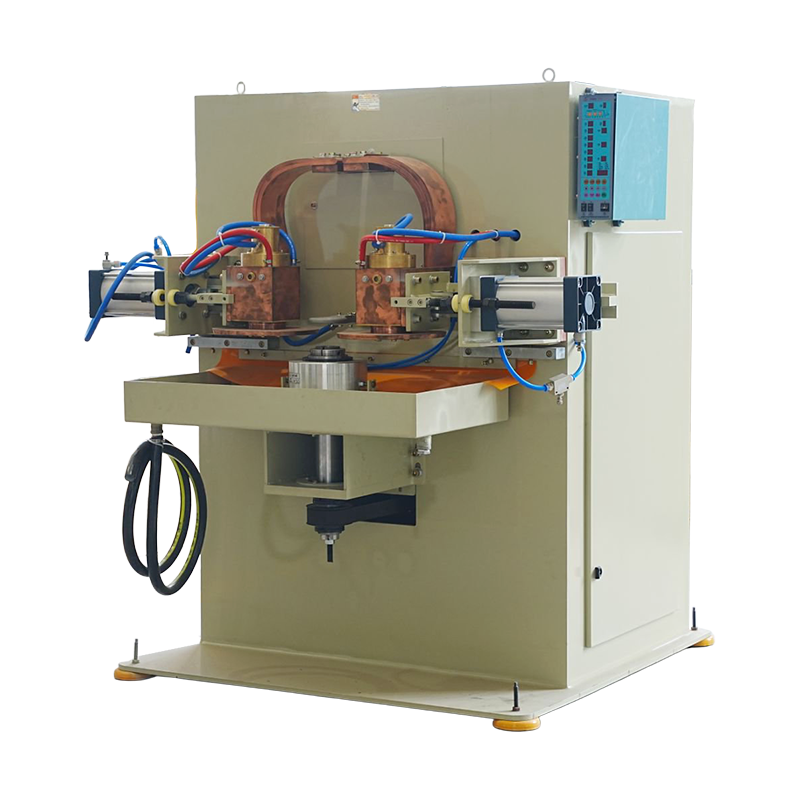
The Shock Absorber Seam Welding Machine is built for continuous seam welding of shock absorber bodies and sealed cylindrical components.
See Details -
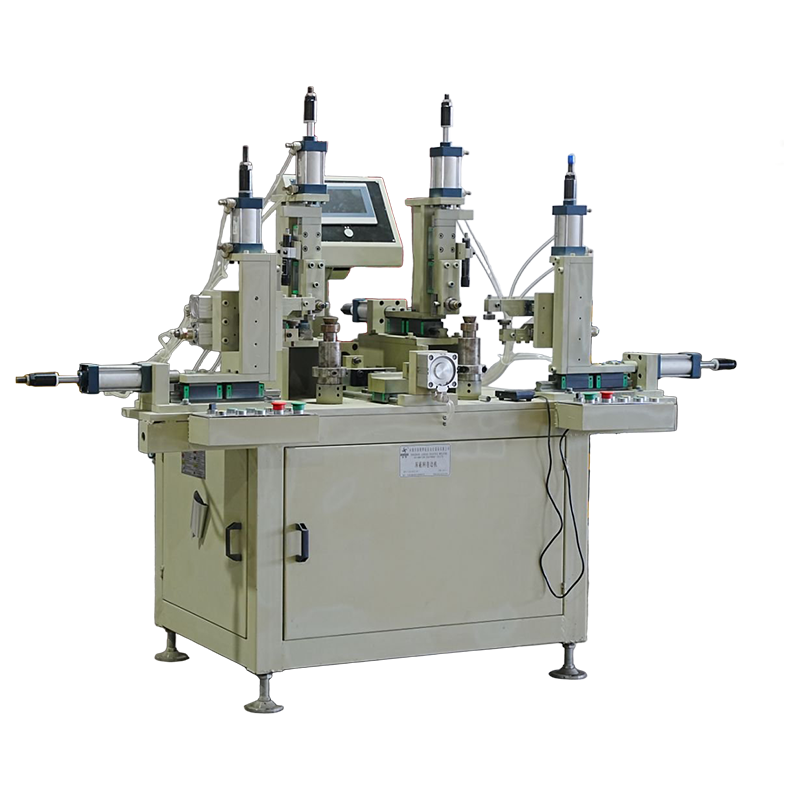
The Automatic Edge Folding Machine for Wire Mesh is a specialized forming system designed to automatically roll or fold the edges of welded wire mesh panels, enhancing structural strength and finished...
See Details



 +86-15268688035
 jx12@4006796688.com
 NO.99,Huaxi Road,Chengxi New District,Yongkang city,Zhejiang China.
Message Us Right Now!
Copyright © Yongkang Jiaxiao Welding Automation Equipment Co., Ltd. All Rights
Reserved
China Welding Equipment Manufacturer
